Well hello there!
I figured it was about time I shared how I contour and highlight my face. I will warn you, the way I do it for this blog post is very extreme. I had to do it that way in order for the camera to pick up the colors.
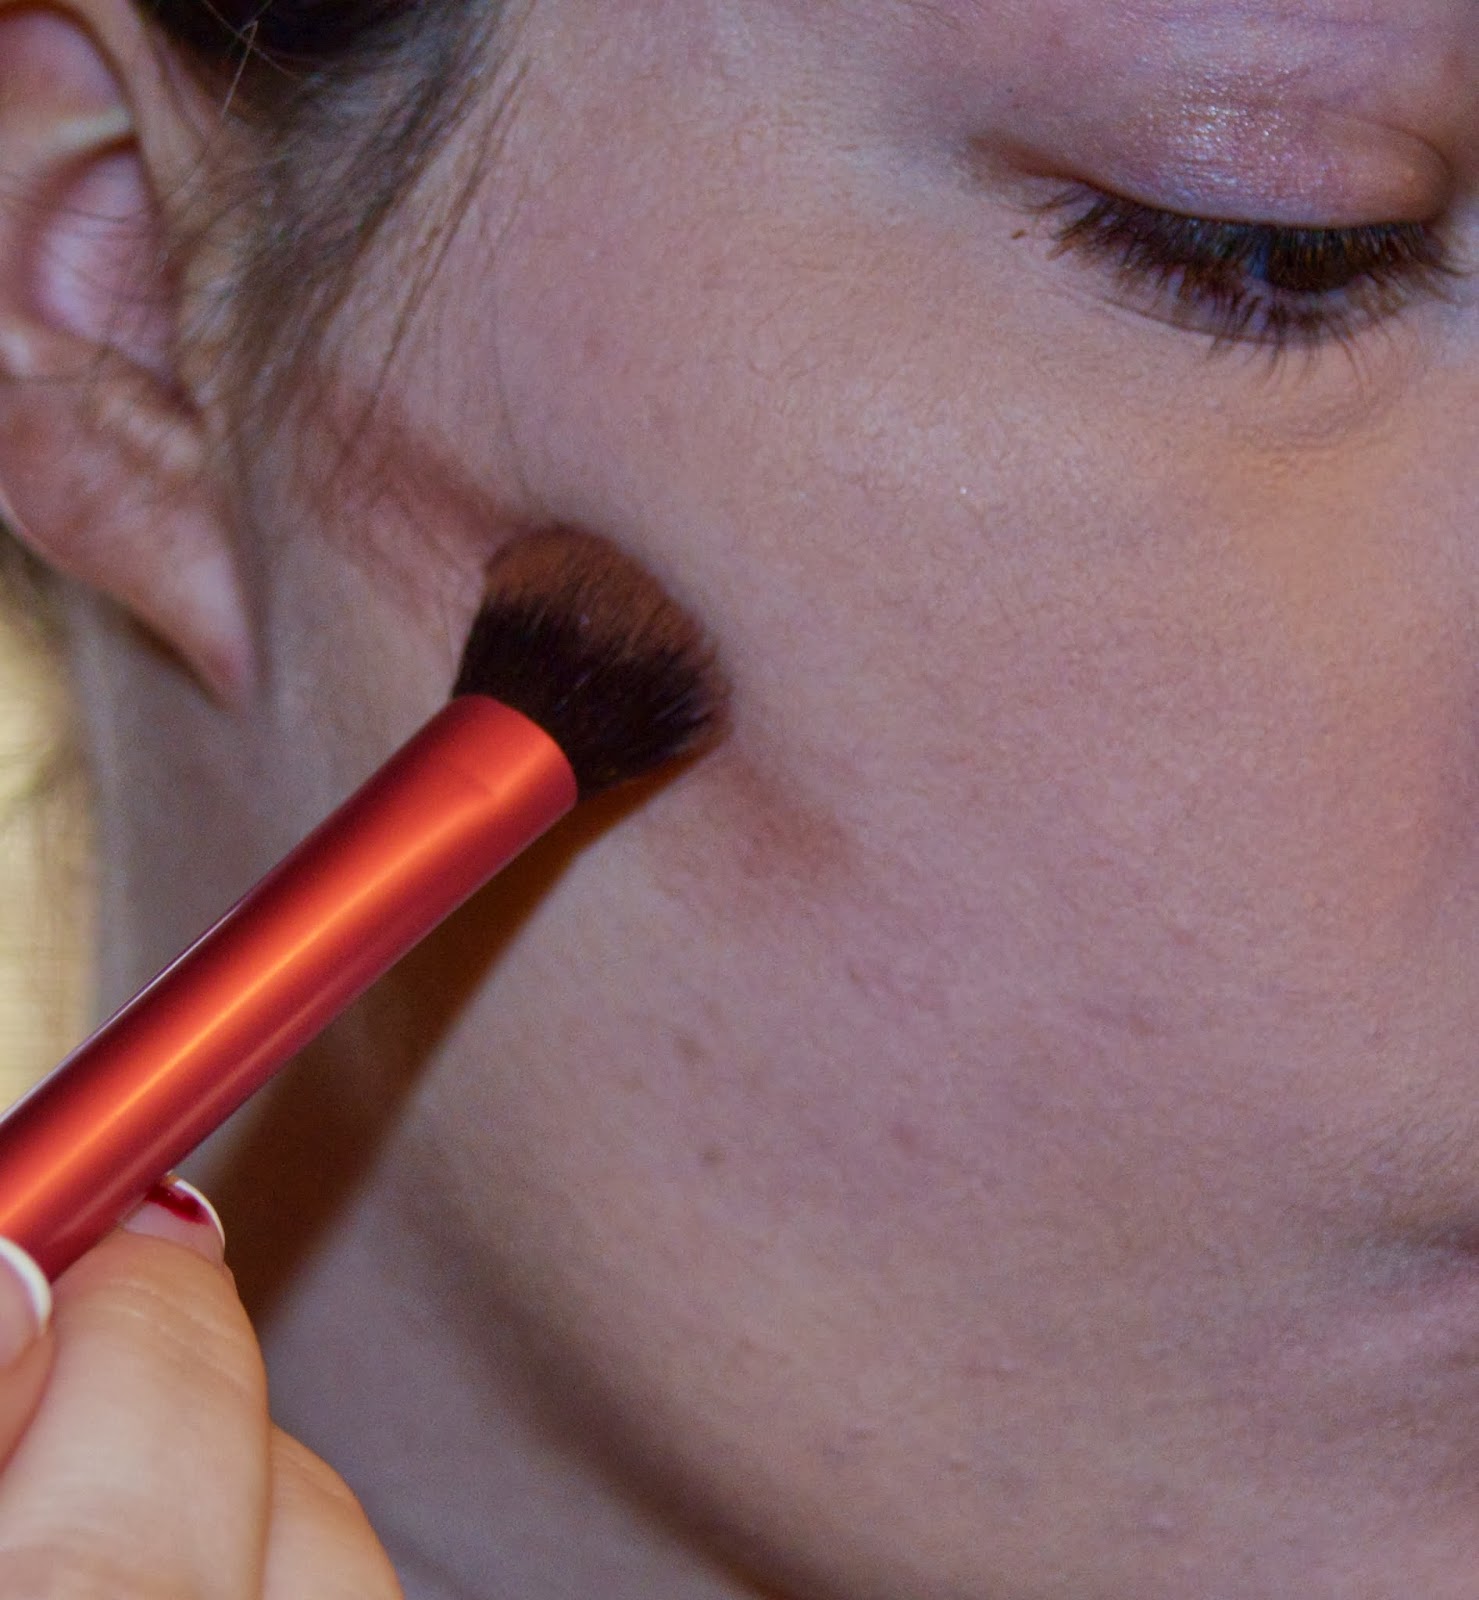
The contour color I am using today is from the ELF Cosmetics Studio Contouring Blush & Bronzing Powder in St. Lucia (here!). I am also using the realTechniques Setting Brush (here!)
First I take the bronzer and chisel out my cheekbones. You want to find the hollow area just below your actual cheekbone. Then, draw a line from your ear to about halfway towards your mouth:
The result should look like this:
Next, I create a shadow on my forehead and contour my chin. Once again, this is much more extreme than I normally do:
Next, I contour the sides of my nose to make it appear narrower:
Once my contour map is all laid out, I buff everything in with my Sigma F80 Brush:
And here is the result of the contouring!
Now it's time for highlighting! I am using the Physician's Formula Mineral Glow Pearls and my realTechniques Expert Face Brush
First, I highlight my actual cheekbones:
Then I run the highlight down the center of my nose:
And I also highlight the center of my forehead:
And voila! All done!
Now the contour and highlight I do is using powder products, and I do this AFTER foundation and concealer. If you want to contour under foundation, you will need to use cream products. I have yet to try out a cream contour, but once I do I will show you how it turns out!
Want to see more posts like this? Sound off in the comments!
INSTAGRAM: @angelamcollins
xoxo, Ang
Sunday, February 23, 2014
Saturday, February 22, 2014
Makeup Pictorial: Neutral Eye Look featuring Smashbox Full Exposure Palette
Hello my darlings!
Time for another fun pictorial. I have the pleasure of possessing the new Smashbox Full Exposure Palette (more info here!):
The colors are so gorgeous and versatile:
Just a word of warning with the shimmer colors: you MUST use them wet, otherwise the shadow does not stick to brushes. You could also use them with your finger.
So let's get started!
First I primed my eyes with Urban Decay Primer Potion:
Then I took these two matte shades and blended them into my crease:
Then I took the deepest warm brown shade and deepened my crease:
For the lids, I used this champagne shimmer color. I first dipped my brush into contact solution, then the shadow:
Then I applied my eyeliner as usual (Ulta Extreme Wear Gel Eyeliner in Primetime):
Then, with a pencil brush, I took that deep brown shade and lined my lower lash line:
And here are the eyes all done!
For the cheeks, I used NYX Blush in Pinched:
And for the lips, I lined them with Jordana Lip Liner in Tawny:
And the lip color is NYX Round Case Lipstick in Thalia:
And here is the look all finished!
I absolutely love this look because it is suitable for day and night.
Want to see more pictorials or a REVIEW of the Full Exposure Palette? Sound off in the comments!
INSTAGRAM: @angelamcollins
xoxo, Ang
Monday, February 17, 2014
Makeup Pictorial: Radiant Orchid-Inspired Purple Smokey Eye
Hi dolls!
Since there has been so much buzz about the Pantone Color of the Year, which is Radiant Orchid (More info here!), I figured I would do a purple eye look.
So let's get started!
First, I primed my eyelids and used the NYX Jumbo Pencil in Milk to ensure that the colors I use are their truest pigment:
Then I took this lilac color from my BH Cosmetics 120 Palette 3rd Edition and swept it over the entire lid:
Next I wanted more shimmer, so I took this lilac pigment from NYX and packed it on top of the shadow:
To deepen the crease, I used NYX Nude Matte Eyeshadow in Skinny Dip with my Sigma E25 brush:
I also used this color to smoke out my lower lash line with a pencil brush:
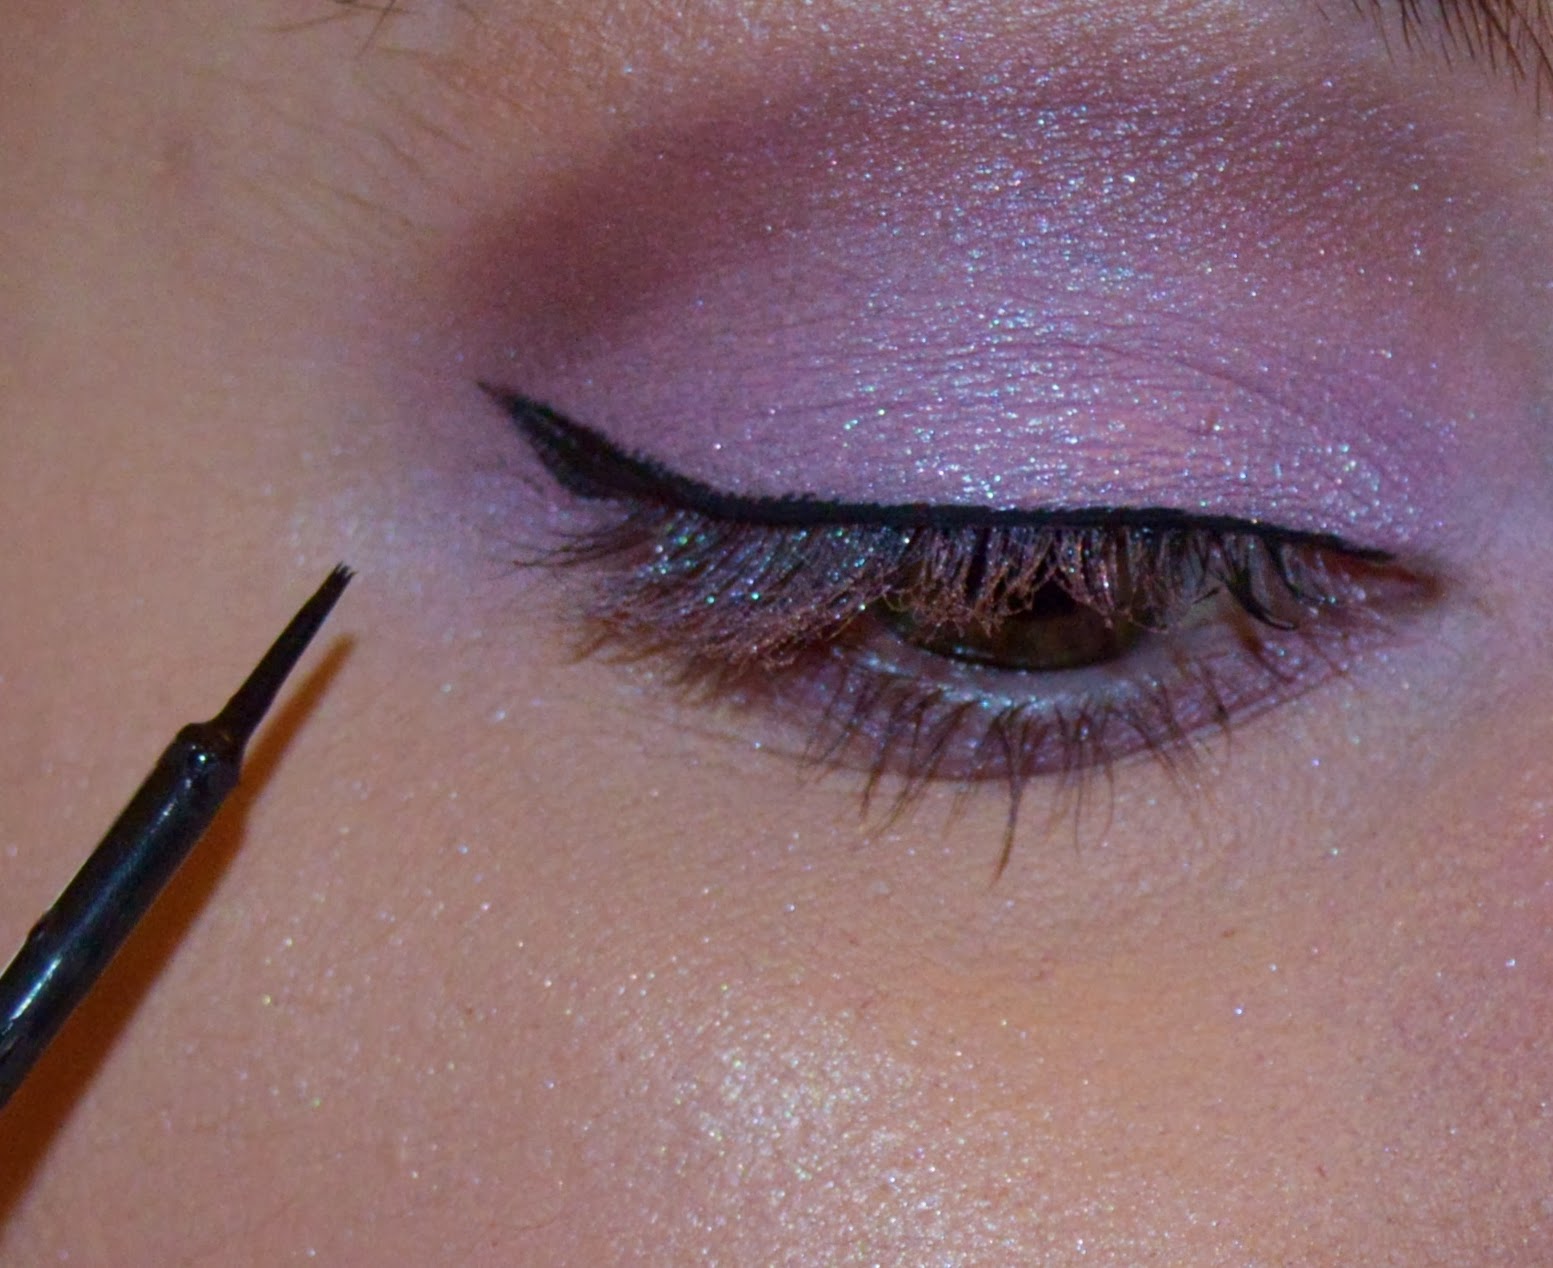
Then, I applied a winged liner with Wet N Wild Megaliner:
Lastly, I applied my mascara and VOILA! All done!
Sooooo pretty. I think purple shadow looks great on hazel/green eyes, but it honestly looks so great on everyone. I know this isn't exactly the same shade as Radiant Orchid, but it's definitely a much more tame way of incorporating the color into your makeup look.
Want to see more pictorials? Sound off in the comments!
INSTAGRAM: @angelamcollins
xoxo, Ang
Friday, February 14, 2014
My Foundation Routine
Hello lovelies!
First off, HAPPY VALENTINE'S DAY! :) Whether you have a valentine or not, just know that you are loved <3
And now on to the pictorial! Today I am showing you my foundation routine. Let's get started!
The first thing I do is moisturize. I'm using Cetaphil Daily Facial Moisturizer:
Next I prime my face. I'm using Benefit Cosmetics the POREfessional:
Now it's time for foundation. I'm using Tarte Amazonian Clay Foundation. This is very full coverage:
First I squeeze the amount I want onto the back of my hand, then I dip my Sigma F80 brush into it:
Then I distribute the foundation on my face in dots:
And then, using circular motions, I blend it into my skin:
Ta-da!
Now it's time for concealer. I'm using the Maybelline Insant Age Rewind Eraser Dark Circles:
First I draw an upside-down triangle under each eye:
And then I use a Beautyblender to blend that in:
To set everything, I'm using the NYX Stay Matte but not Flat Powder Foundation:
And voila! All done!
I have been doing this particular routine for about a year. That being said, my routine varies according to my mood and what kind of condition my skin is in.
Here are all of the products I used:
Want to see other routine pictorials? Sound off in the comments!
INSTAGRAM:http://instagram.com/angelamcollins
xoxo, Ang
Subscribe to:
Comments (Atom)


