Well hello there!
I figured it was about time I shared how I contour and highlight my face. I will warn you, the way I do it for this blog post is very extreme. I had to do it that way in order for the camera to pick up the colors.
The contour color I am using today is from the ELF Cosmetics Studio Contouring Blush & Bronzing Powder in St. Lucia (
here!). I am also using the realTechniques Setting Brush (
here!)
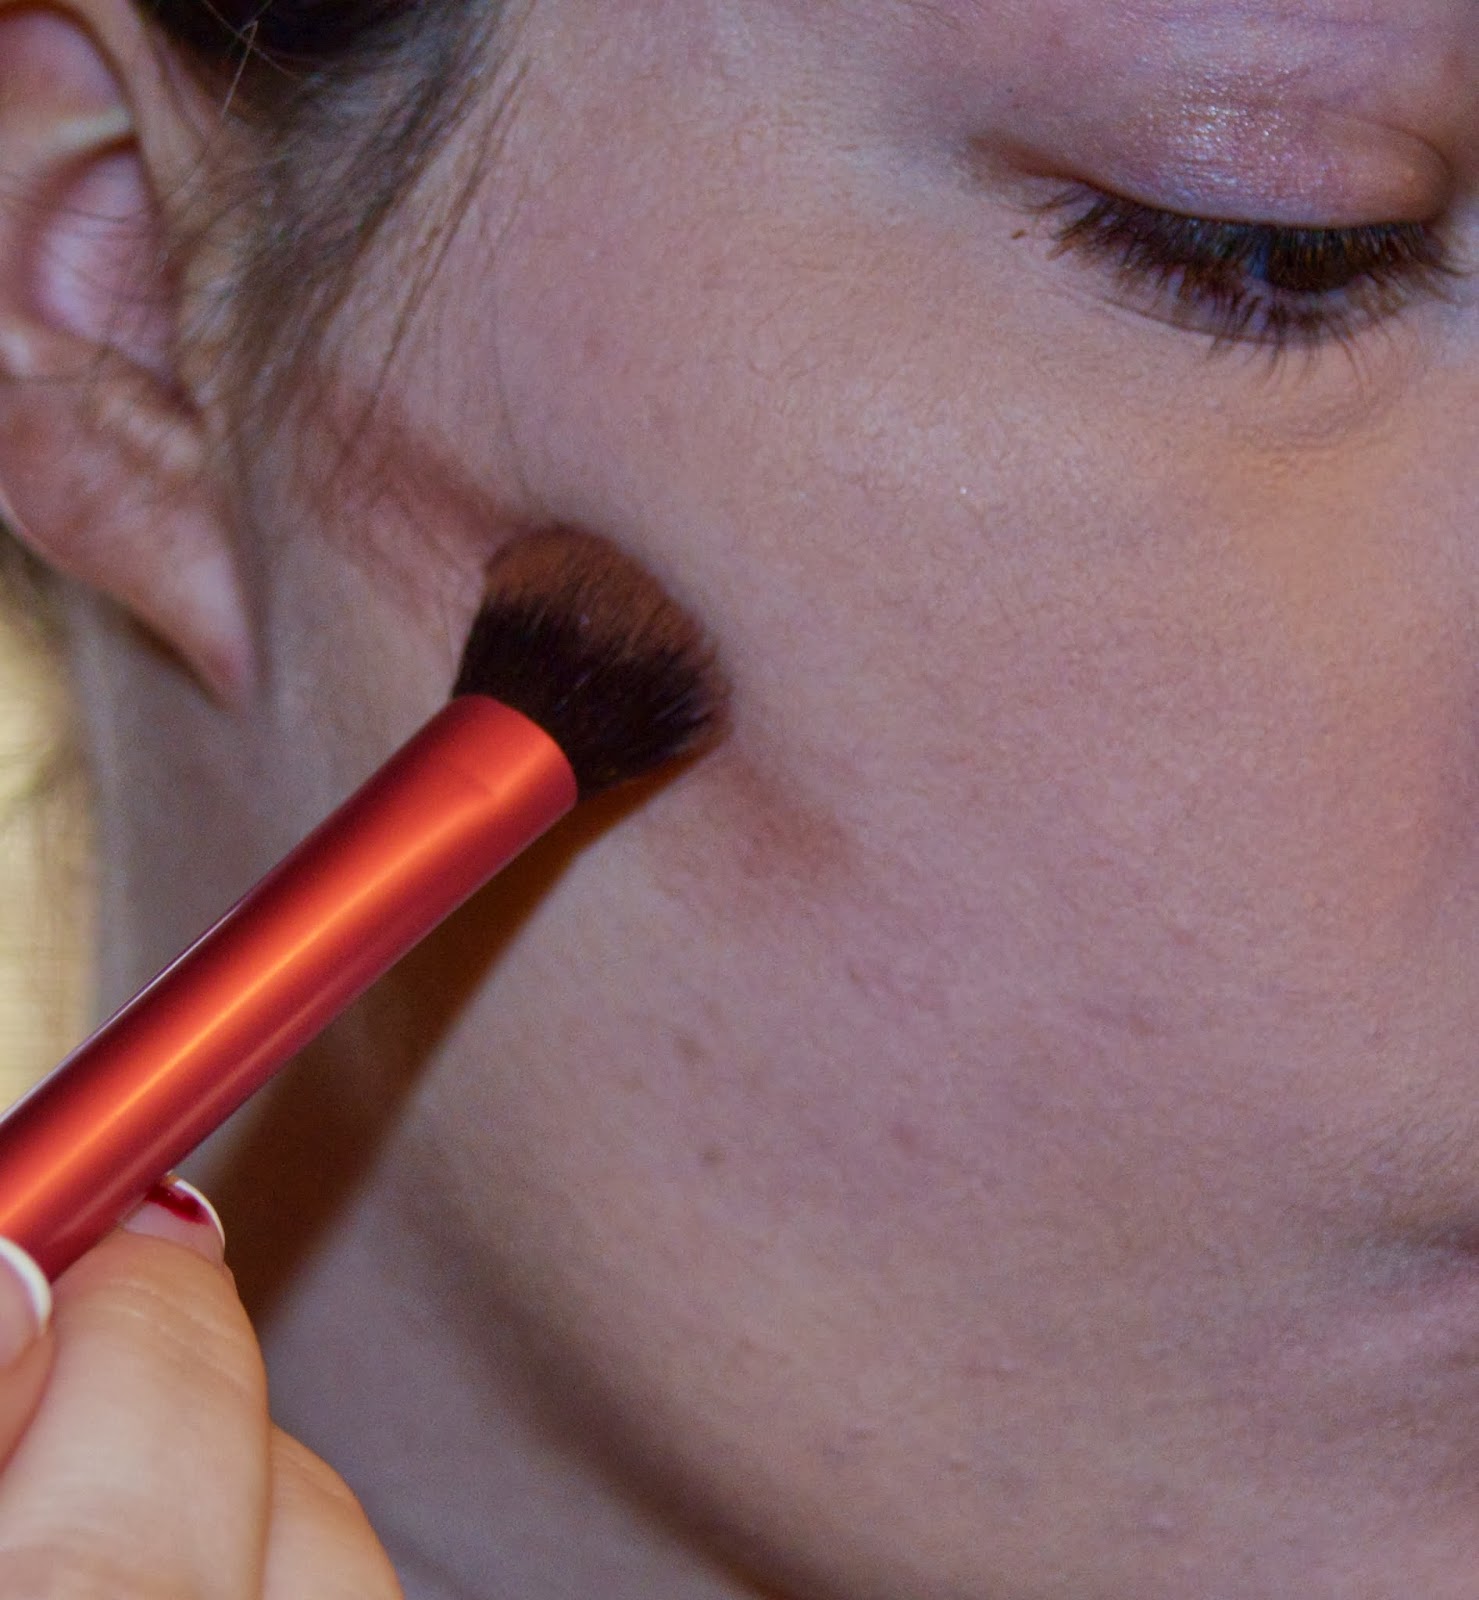
First I take the bronzer and chisel out my cheekbones. You want to find the hollow area just below your actual cheekbone. Then, draw a line from your ear to about halfway towards your mouth:
The result should look like this:
Next, I create a shadow on my forehead and contour my chin. Once again, this is much more extreme than I normally do:
Next, I contour the sides of my nose to make it appear narrower:
Once my contour map is all laid out, I buff everything in with my Sigma F80 Brush:
And here is the result of the contouring!
Now it's time for highlighting! I am using the Physician's Formula Mineral Glow Pearls and my realTechniques Expert Face Brush
First, I highlight my actual cheekbones:
Then I run the highlight down the center of my nose:
And I also highlight the center of my forehead:
And voila! All done!
Now the contour and highlight I do is using powder products, and I do this AFTER foundation and concealer. If you want to contour under foundation, you will need to use cream products. I have yet to try out a cream contour, but once I do I will show you how it turns out!
Want to see more posts like this? Sound off in the comments!
INSTAGRAM: @angelamcollins
xoxo, Ang


No comments:
Post a Comment